
GRHS-B system, Wicked Creek region. On the 26th of November at 16:30 EVE Standard Time, Red Menace Coalition (RMC) forces clashed with Test Alliance Please Ignore [TEST] and Pandemic Legion [-10.0] over a tower in the region.
The battle was sparked over a valuable moon in the system. Test Alliance Please Ignore forces have been challenging RMC over the high end moons in the Wicked Creek region for the past month, with some success. However, RMC forces were not going to give up without a fight. As the tower over the moon in GRHS-B was exiting reinforced mode, both sides prepared for a fight.
Test Alliance Please Ignore had a small capital force with a Cerberus heavy assault cruiser fleet as escort, estimated at 35 pilots. The force made it to the system and set up on the tower itself, waiting for it to exit reinforcement mode.
RMC had a titan and several super-carriers logged off in the system and gathered a Machariel battleship fleet, estimated at around 50 pilots. The force quickly raced to the system to engage the Test Alliance Please Ignore forces.
Pandemic Legion was informed of what was happening and assembled its own force, a 37 pilot Sleipnir command ship fleet. The fleet burnt towards the system using wormholes in order to render help to the Test Alliance Please Ignore fleet which was quickly engaged by the Machariels who poured into the system and warped on top of it, starting the fight.
The battle went badly for the Test Alliance Please Ignore force at first, as RMC brought its super capitals to the field and quickly dispatched a dreadnought and a carrier. At the same time the Cerberuses engaged the Machariels, missiles and artillery shells exchanged between both sides, with the Test Alliance Please Ignore dreadnoughts adding their firepower to the mix.
While the battle was getting into the swing of things, Pandemic Legion forces started filtering into the system. This caused RMC forces to withdraw their super capitals, while their Machariel fleet perched on the tower grid, waiting for Pandemic Legion to enter the fray. Once Pandemic Legion forces were on the field, the three fleets maneuvered on the grid before engaging once more.
The second exchange turned quite differently for RMC, as the two enemy fleets managed to break the tank of the RMC Machariels, quickly destroying a few before forcing the fleet to retreat. As RMC forces warped off, they were pursued by the Pandemic Legion fleet which managed to destroy a few more ships as the RMC force scattered across the system.
With RMC forces re-grouping in the system, Pandemic Legion went back to the tower grid, removing the tower together with Test Alliance Please Ignore. However, hearing that RMC forces had landed on the F-3FOY gate, Pandemic Legion warped to the gate as well in order to pursue them, thinking they may try to flee. Instead, RMC forces seemed to want to fight, and a battle broke out on the gate between the two fleets. This third exchange was more even as the grid around the gate severely broke, causing fleets to scatter on three different grids as the two sides maneuvered. Test Alliance Please Ignore’s Cerberus fleet joined the fray as its capitals safely extracted.
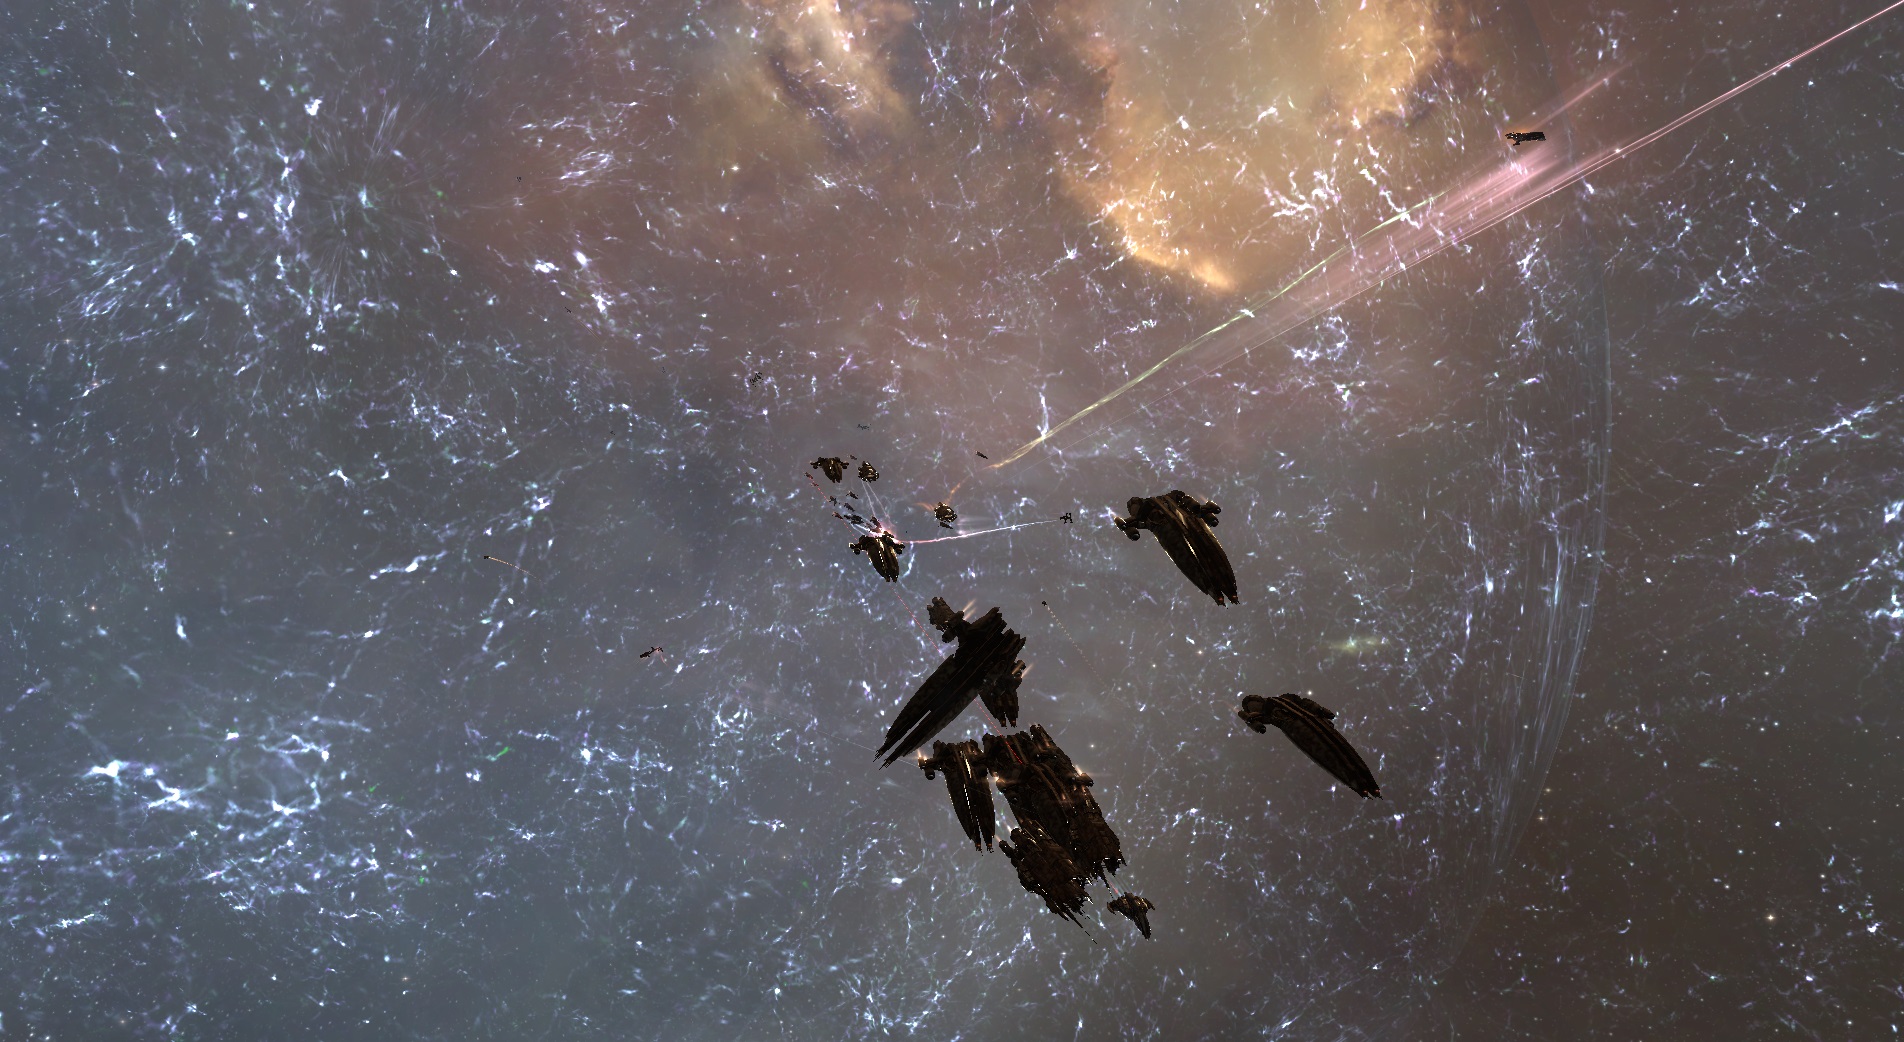
RMC Machariels Engaged by Pandemic Legion Forces on the F-3FOY Gate
With a broken grid and mounting losses, RMC forces chose to withdraw to a safe tower in the system, conceding the field to Pandemic Legion and Test Alliance Please Ignore. Being light on logistics and having suffered a few losses, Pandemic Legion forces withdrew from the system, safely extracting while Test Alliance Please Ignore continued to reinforce its Cerberus fleet which guarded the now vacant moon as a tower was brought over to secure it.
However, RMC forces were not willing to stand down and re-formed once more, replenishing losses and returning to the system. By this time the Cerberus fleet had increased its size to around 50 pilots as well and both fleets met on the tower grid again, starting a fourth engagement.
This fight went decidedly against Test Alliance Please Ignore. The Machariels were able to easily volley the logistics wing of the Cerberus fleet and then the heavy assault cruisers themselves. Unable to withdraw else the RMC fleet would destroy its tower, Test Alliance Please Ignore remained on grid and soaked the damage, waiting for the tower to properly online and thus be safe from the RMC fleet.
At the same time Triumvirate. [TRI] had a 60 pilot Cerberus fleet of its own coming to aid Test Alliance Please Ignore. However the fleet was waylaid by a Stain-Wagon Orthrus cruiser fleet and delayed. By this time though, the tower was properly online and RMC forces given information on the Triumvirate. reinforcement fleet decided to withdraw, hounded by Test Alliance Please Ignore forces.
Finally, the RMC fleet was forced to safe up in a tower in the U104-3 system where it was camped in by the Test Alliance Please Ignore Cerberus fleet and the Triumvirate. force which arrived eventually. However, with RMC forces declining to engage, both forces chose instead to extract, ending the fight.

RMC Forces Camped in their Tower in U104-3, Taken from Reddit
Test Alliance Please Ignore managed to obtain both the strategic and the tactical victory.
Battle report for the GRHS-B system can be found here.
All told the battle lasted, on its various parts, nearly two hours with system hosting less than 200 pilots at the peak of the fighting and Time Dilation not reported.
RMC lost 58 ships including 19 battleships for a total of 18.42 billion ISK while Test Alliance Please Ignore and its allies lost 50 including 1 dreadnought, 1 carrier, 23 heavy assault cruisers and 2 command ships for a total of 14.36 billion ISK.
Salivan Harddin is a member of Reikoku, Pandemic Legion, and covers battles across New Eden